
Table of Contents
Introduction:
Welcome to our comprehensive guide on creating addon and subdomains in cPanel! Whether you’re a seasoned webmaster or just starting your online journey, understanding how to manage domains efficiently is essential. With cPanel, one of the most popular web hosting control panels, adding addon domains and subdomains is a breeze. In this tutorial, we’ll walk you through the step-by-step process of creating both addon domains and subdomains, empowering you to expand your web presence and organize your websites effectively. Let’s dive in!
What is Addon domain?
An addon domain is an additional domain that you can host within your existing web hosting account. It functions as a separate website with its own unique domain name and content, but it shares the resources (such as disk space and bandwidth) of your primary hosting account. Addon domains are useful for managing multiple websites under one hosting plan, making it convenient and cost-effective to expand your online presence without needing separate hosting accounts.
Steps for creating addon domains in cPanel.
Creating addon domains in cPanel is a straightforward process. Here’s a step-by-step guide:
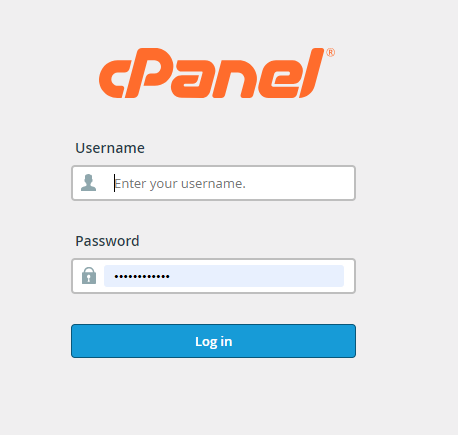
Log in to cPanel: Access your cPanel account using your username and password.

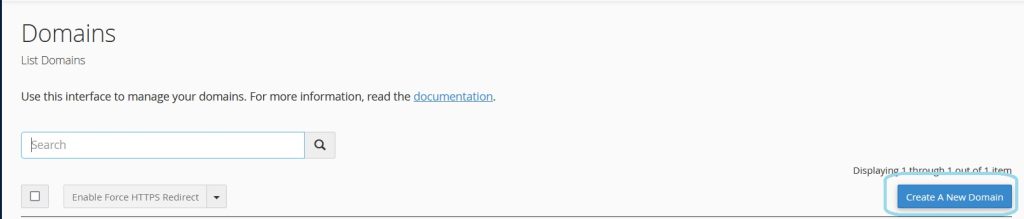
Locate the “Addon Domains” option: It’s usually found under the “Domains” section. You can use the search bar if you’re having trouble finding it.

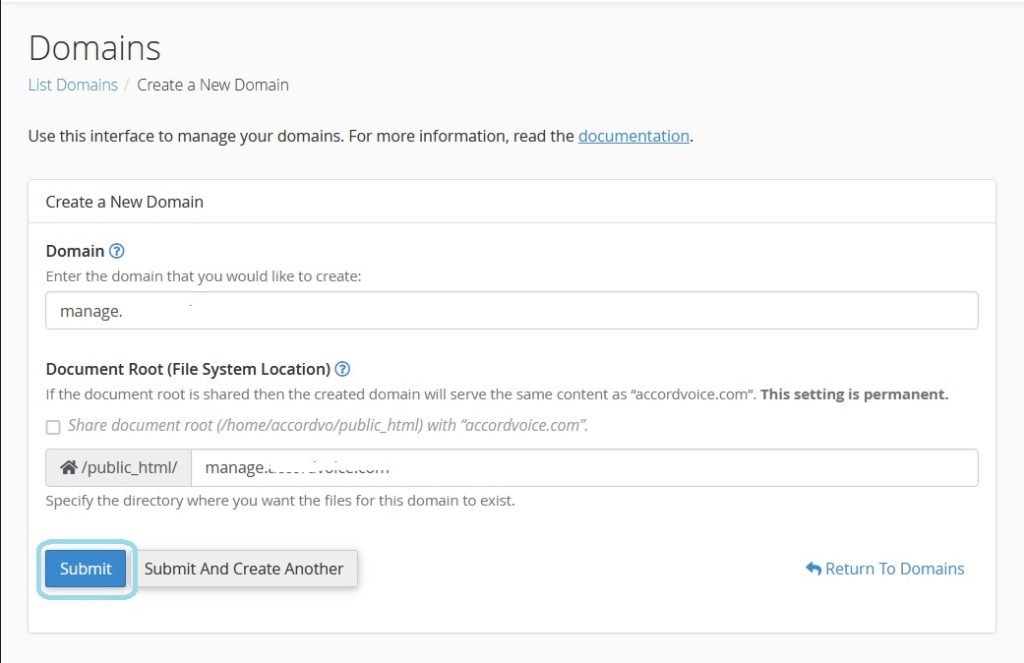
Enter domain details: In the “Addon Domains” section, you’ll see fields to input domain details:
- New Domain Name: Enter the domain you want to add as an addon domain.
- Subdomain/FTP Username: This is usually filled in automatically based on the domain name you entered, but you can change it if necessary.
- Document Root: This is the directory where the addon domain’s files will be stored. cPanel typically fills this in based on the domain name you entered. You can also specify a custom directory if needed.

Set Password: If prompted, set a password for the addon domain. This password is for FTP access and is optional.

Click “Add Domain”: Once you’ve filled in the required information, click the “Add Domain” button.
Verify: After adding the domain, cPanel will display a confirmation message indicating that the addon domain has been successfully created.
Configure DNS (if necessary): If your domain is not using the default nameservers provided by your hosting provider, you’ll need to update the DNS settings for the domain to point to your hosting server. This involves updating the domain’s DNS records to include the appropriate A (Address) or CNAME (Canonical Name) records.
That’s it! You’ve successfully created an addon domain in cPanel. You can now upload files to the specified document root directory for the addon domain, and those files will be accessible via the newly added domain name.
What is sub domain?

A subdomain is a subsection of your main domain that functions as a separate entity, typically used to organize or categorize content within your website. It has a unique URL prefix attached to your main domain (e.g., blog.example.com), allowing you to create distinct sections or services without registering a new domain. Subdomains can have their own content, design, and functionality, making them useful for creating separate areas within a website, such as blogs, forums, or stores.
Steps for creating sub domains in cPanel.
Creating subdomains in cPanel is also a simple process. Here’s how you can do it:
Log in to cPanel: Access your cPanel account using your username and password.
Locate the “Subdomains” option: You can usually find this under the “Domains” section. If you’re having trouble finding it, you can use the search bar.

Enter subdomain details: In the “Subdomains” section, you’ll typically see fields to input subdomain details:
- Subdomain: Enter the name of the subdomain you want to create. For example, if you want to create a subdomain called “blog” for your domain “example.com”, you would enter “blog” in this field.
- Document Root: This is the directory where the files for the subdomain will be stored. By default, cPanel will fill this in based on the subdomain name you entered. You can specify a custom directory if needed.
Click “Create”: Once you’ve filled in the required information, click the “Create” button or a similar option.
Verify: After creating the subdomain, cPanel will display a confirmation message indicating that the subdomain has been successfully created.
Configure DNS (if necessary): If your subdomain is not using the default nameservers provided by your hosting provider, you may need to update the DNS settings for the subdomain to point to your hosting server. This typically involves adding A (Address) records for the subdomain.
That’s it! You’ve successfully created a subdomain in cPanel. You can now upload files to the specified document root directory for the subdomain, and those files will be accessible via the newly created subdomain URL.
Conclusion:
In conclusion, mastering the creation of addon domains and subdomains in cPanel is a fundamental skill for anyone managing websites. By following the simple steps outlined in this guide, you can effortlessly add additional domains to your hosting account and create subdomains to organize your content efficiently. Whether you’re launching new projects, setting up client websites, or managing a portfolio of online ventures, cPanel provides the tools you need to streamline your web hosting experience. With your newfound knowledge, you’ll be able to navigate cPanel with confidence, maximizing the potential of your web hosting account. Cheers to your success in building and managing your online presence!