Table of Contents
Introduction
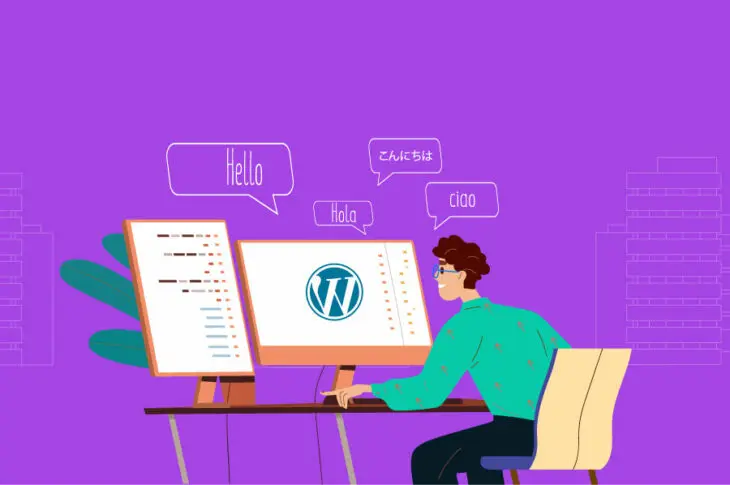
In our increasingly globalized world, having a multilingual WordPress site is essential for reaching a diverse audience and expanding your online presence. By providing content in multiple languages, you can enhance user experience, cater to international visitors, and improve your site’s SEO performance. Setting up a multilingual site might seem daunting, but with the right tools and guidance, it can be a straightforward process. This guide will walk you through the steps to create a multilingual WordPress site, from choosing the right plugin to optimizing your translations for SEO.
Let’s see the steps for creating multilingual WordPress site effectively:
Creating a multilingual WordPress site allows you to reach a broader audience by providing content in multiple languages. Here’s a step-by-step guide to help you set up a multilingual WordPress site effectively:

Step 1: Choose a Multilingual Plugin
The easiest way to create a multilingual site is by using a plugin. Some of the most popular plugins for this purpose are:
- WPML (WordPress Multilingual Plugin)
- Polylang
- Weglot
- TranslatePress
Each plugin has its own strengths, but they all enable you to translate your content and manage multiple languages.
Step 2: Install and Activate the Plugin
Install the Plugin:
- Go to your WordPress dashboard.
- Navigate to Plugins > Add New.
- Search for the multilingual plugin you want to use (e.g., WPML, Polylang).
- Click Install Now and then Activate.
Activate the License (if required):
- Some plugins, like WPML, require a license. Follow the on-screen instructions to activate the plugin license.
Step 3: Configure the Plugin
WPML
- Setup Wizard:
- After activating WPML, you’ll be guided through a setup wizard.
- Select the languages you want to add to your site.
- Language Switcher:
- Configure the language switcher which allows users to switch between languages.
- Place it in a menu, sidebar, or footer.
Polylang
- Languages:
- Go to Languages in your WordPress dashboard.
- Add the languages you want to support.
- Language Switcher:
- Configure the language switcher and add it to your site.
TranslatePress
- Setup:
- After activation, go to Settings > TranslatePress.
- Add new languages and configure default language settings.
- Visual Translation:
- Use the visual translation interface to translate your site content directly from the front end.
Step 4: Translate Your Content
Posts and Pages
- WPML:
- Go to the post or page you want to translate.
- Click on the + icon next to the language in the WPML meta box.
- Translate the content and save.
- Polylang:
- Edit the post or page.
- Use the language metabox to add translations.
- TranslatePress:
- Open the page you want to translate on the front end.
- Use the translation interface to translate text elements.
Menus
- WPML:
- Go to Appearance > Menus.
- Create separate menus for each language and assign them to the correct language.
- Polylang:
- Similar to WPML, create and assign menus for each language.
- TranslatePress:
- Menus are translated within the visual translation interface.
Step 5: Translate Theme and Plugin Strings
- WPML:
- Use the String Translation module to translate theme and plugin strings.
- Polylang:
- Install the Lingotek Translation plugin or use Polylang Pro for string translations.
- TranslatePress:
- Translate strings directly from the front end using the visual translation interface.
Step 6: Optimize SEO for Multilingual Sites
- WPML:
- Ensure you have the WPML SEO plugin installed if you’re using Yoast SEO.
- Translate SEO metadata for each language.
- Polylang:
- Integrates well with popular SEO plugins like Yoast SEO.
- Translate SEO metadata for each language.
- TranslatePress:
- Ensure SEO settings are configured properly in Settings > TranslatePress.
- Translate SEO metadata directly from the visual interface.
Step 7: Test Your Multilingual Site
- Visit your site and switch between languages to ensure everything is working correctly.
- Check that all content, menus, widgets, and strings are properly translated.
Conclusion
Creating a multilingual WordPress site is a powerful way to broaden your reach and connect with a global audience. By carefully selecting a multilingual plugin, configuring it properly, and diligently translating your content, you can ensure a seamless and user-friendly experience for visitors in different languages. Remember to regularly update and review your translations to maintain accuracy and relevance. With a well-executed multilingual strategy, your WordPress site can effectively communicate your message and engage users from around the world, enhancing both user satisfaction and your site’s performance.