
Table of Contents
Introduction
Keeping your WordPress site secure and up-to-date is essential for maintaining performance and protecting against vulnerabilities. WordPress offers an auto-update feature for plugins, themes, and core files, making it easier for site owners to stay current without manual intervention. However, while auto-updates can be convenient, they may not always be desirable for every user or scenario. In this guide, we’ll walk you through how to enable or disable auto-updates for WordPress plugins and themes, helping you maintain control over your website’s updates while ensuring its stability and security.
Let’s see the steps for Enable or Disable Auto-Updates in WordPress Plugins and Themes
Auto-update in WordPress allows the platform to automatically install updates for core files, Plugins and Themes. This feature enhances security by keeping your website up-to-date with the latest versions. While convenient, it’s important to monitor updates to ensure compatibility and avoid potential conflicts with customizations or third-party plugins.
Hosting services play a crucial role in supporting WordPress auto-updates by providing a reliable server environment, ensuring compatibility, and offering security features. Many managed WordPress hosting providers automatically handle core, theme, and plugin updates. They often offer backups and staging environments, allowing you to test updates safely without disrupting your live site.

Enable or Disable Auto-Updates for Plugins
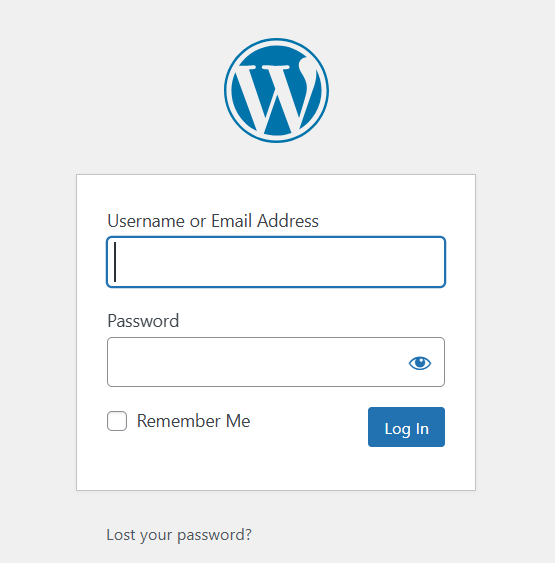
- Log into your WordPress Admin Dashboard:
- Open your web browser and navigate to
example.com/wp-admin. - Enter your username and password.
- Open your web browser and navigate to
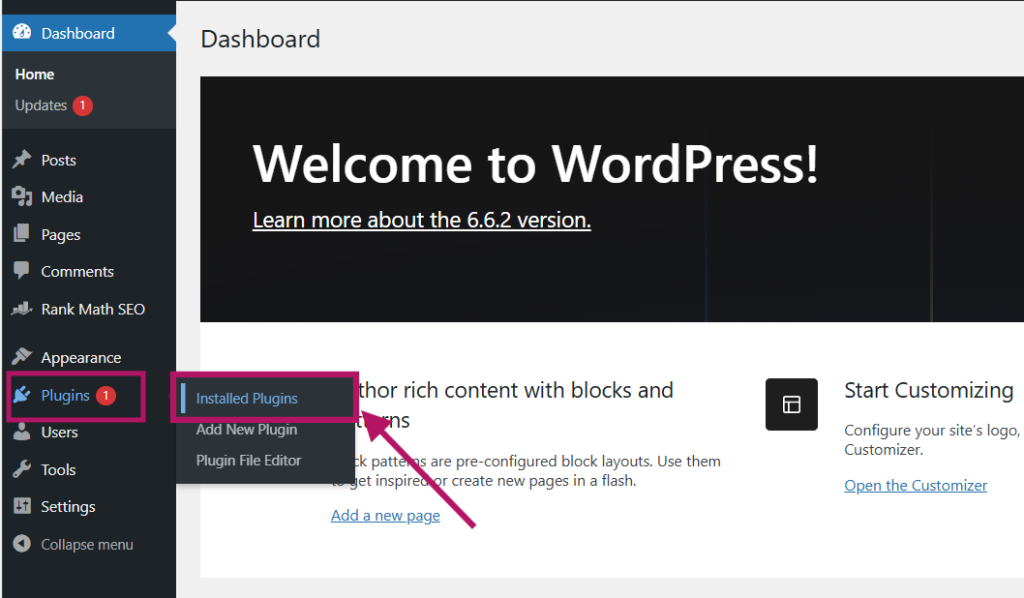
2. Go to the Plugins Section:
- In the left-hand menu, click on
Plugins>Installed Plugins.
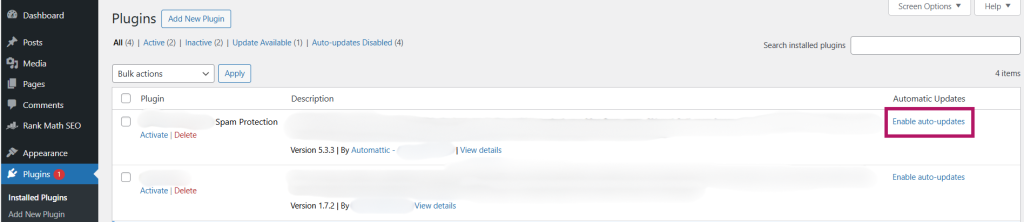
3. Enable or Disable Auto-Updates for Plugins:
- In the Installed Plugins list, there is a column titled Automatic Updates.
- To enable auto-updates for a plugin, click the link that says “Enable Auto-Updates” next to the plugin.
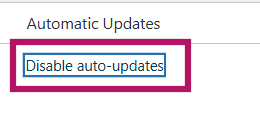
- To disable auto-updates for a plugin, click the link that says “Disable Auto-Updates” if auto-updates are already enabled.
Enable or Disable Auto-Updates for Themes
- Go to the Themes Section:
- In the left-hand menu, click on
Appearance>Themes.
- In the left-hand menu, click on
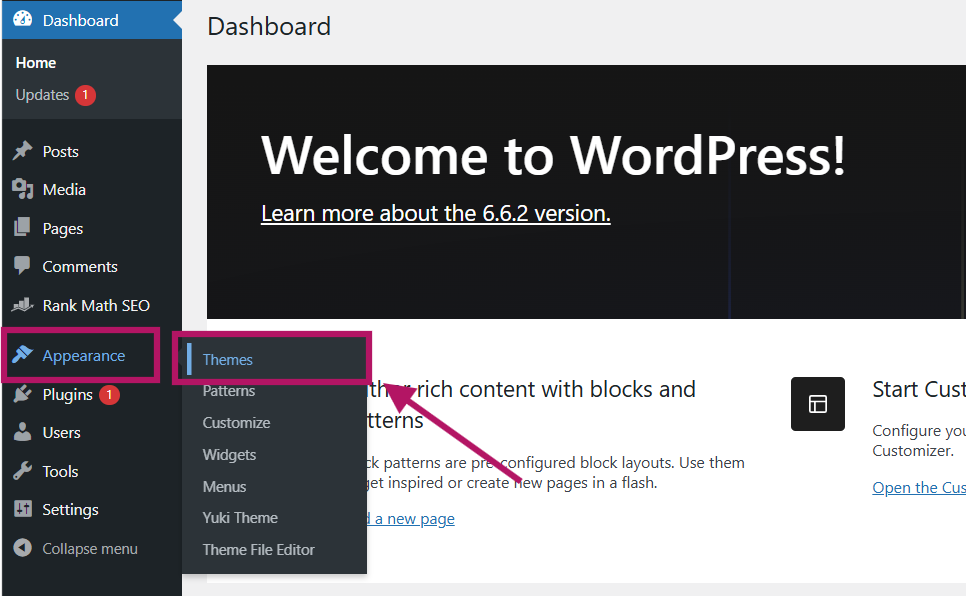
2. View Installed Themes:
- You will see all the themes currently installed on your WordPress site.
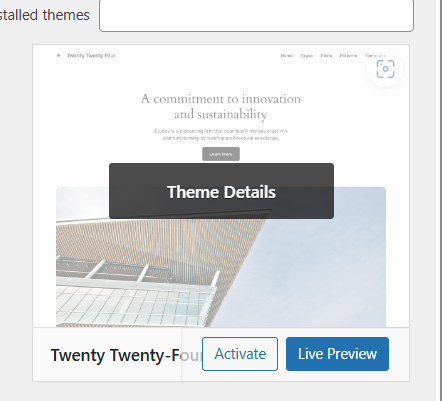
3. Enable or Disable Auto-Updates for Themes:
- Click on the theme you want to manage.
- On the theme details page, there will be an option to Enable Auto-Updates or Disable Auto-Updates.
- Simply click the relevant link based on what you want to do.


Conclusion
Whether you prefer to have WordPress hosting to handle updates automatically or you want full control over when updates are applied, knowing how to enable or disable auto-updates for plugins and themes is crucial. By following the simple steps outlined in this guide, you can ensure your site stays updated on your terms, minimizing the risk of compatibility issues or disruptions. With the right approach, you can enjoy the benefits of both security and flexibility, keeping your WordPress site running smoothly and efficiently.